USBImager
USBImager is a really simple GUI application that writes disk images to SD cards or USB drives. It also can be used to create SD card backups. Available platforms: Windows, MacOSX and Linux. It’s interface is as simple as it gets, totally bloat-free.
Steps
Step 1 - Insert SD card
- Insert SD card into PC.
Step 2 - Ignore all warnings
Danger
Depending on software loaded on your PC, you may be get a series of messages when you plug in your SD card.
- Ignore Autoplay requests.
- Ignore formatting requests.
- Ignore anti-virus warnings.
- Ignore backups requests.
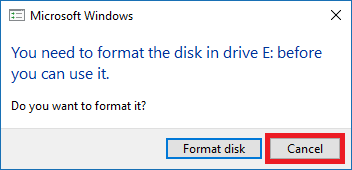
- Click [Cancel] if prompted to format disk.
Step 3 - Note the new drive letter
- Note the new drive letter that has been created (ie. D:).
Step 4 - Start USBImager
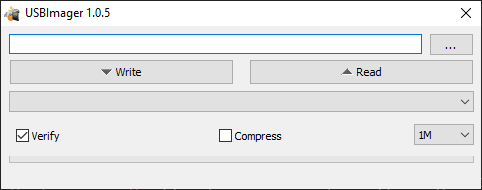
- Click [USBImager] button, icon or menu item.
Step 5 - Select pCP Image
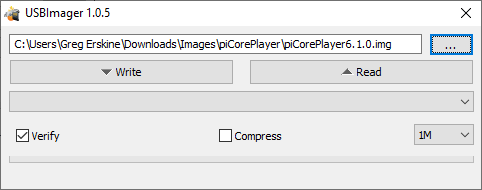
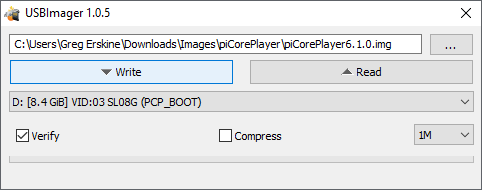
- Select pCP Image File (ie. piCorePlayer6.1.0.img).
Step 6 - Set Device
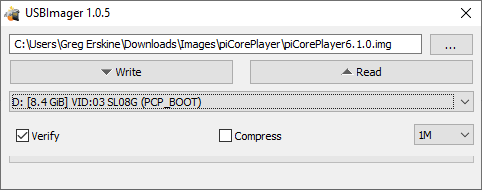
- Carefully set Device to your SD card.
- For example: D: [8.4 GiB] VID:03 SL08G (PCP_BOOT).
- Note: the PCP_BOOT partition label if the SD card is being reused. A new SD card will have a blank label.
Danger
Ensure you have your SD card selected. You can accidentally overwrite your USB drive!
Step 7 - Write data on “Image file” to “Device”
Warning
Ensure Target Device is correct.
Warning
Ensure Target Device label is correct.
- Write data on “Image file” to “Device”.
- Click [Write].
Step 8 - Writing in progress
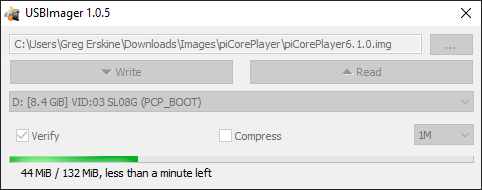
- Writing in progress.
Step 9 - Writing
- Writing should take from 4 to 24 seconds.
- Exact time will depend on SD card specification.
Step 10 - Exit
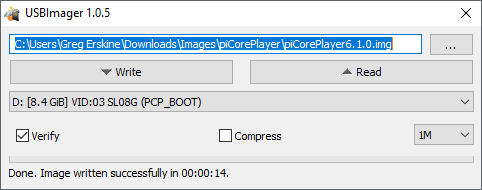
- Click [X] to exit program.
Step 11 - Remove SD card
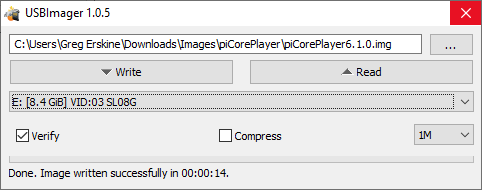
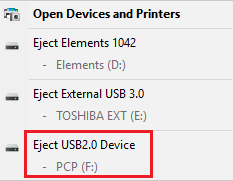
- Click [Safely Remove Hardware and Eject Media].
- Click [Eject SD Card].
More information
The Software and Information is provided "as is" without warranty of any kind, either express or implied, including without limitation any implied warranties of condition, uninterrupted use, merchantability, fitness for a particular purpose, or non-infringement.
Raspberry Pi is a trademark of the Raspberry Pi Foundation.