Add a 4.3 inch Waveshare DSI Display, Touch, 800x480
Waveshare 4.3 inch DSI Touch Display, 800x480 with piCorePlayer.


Info
This is one of the easiest ways to get a touch display running under pCP. It may run in same way with bigger DSI-Displays, same resolution, but it isn’t tested yet.
Add a 4 inch Waveshare display spi touch
Waveshare 4 inch resistive display, spi Touch, 480×800, HDMI, with piCorePlayer.
Note If upgrading from pCP version 9.2 or lower, or if installing fresh on pCP 10 or higher, be sure to read the important note below, otherwise jivelite will fail to write out its settings.


Steps
Step 1 - Connect the display to your Raspberry PI
- Plug the display directly on the GPIO pins of your RPi and connect the HDMI plug with an HDMI-adaptor.

Add a 5 inch Waveshare display spi touch
Waveshare 5 inch HDMI Display, 800x480, resistive spi touch with piCorePlayer.
Note If upgrading from pCP version 9.2 or lower, or if installing fresh on pCP 10 or higher, be sure to read the important note below, otherwise jivelite will fail to write out its settings.


What we need
- Raspberry Pi 2, 3, 4 or piZero WH
- 8GB Micro SD card
- Waveshare 5 inch display, resistive spi-touch with HDMI-adaptor
- Optional: Some jumper wires, female to female
- Powersupply, 5V, >= 2,5 A
- PC or Laptop, Putty installed
Preparation
- Plug the display directly on the GPIO pins of your PI and connect the HDMI plug with an HDMI-adaptor

Add a 5.5 inch Waveshare AMOLED display
I nice write-up by The Fan Club - How to setup piCorePlayer Jivelite for use with a Waveshare 5.5 inch AMOLED touchscreen.

More information
- Waveshare 5.5 inch Touch AMOLED Display
- Download piCorePlayer
- Burn piCorePlayer onto a SD card
- Determine your piCorePlayer IP address
- Access piCorePlayer via ssh
- Edit config.txt
- piCorePlayer aliases
- piCorePlayer CLI
- Basic vi commands
- Raspberry Pi config.cfg
- Waveshare 4.1 TFT + piCorePlayer + Jivelite
- Documentation / fb / fbcon.txt
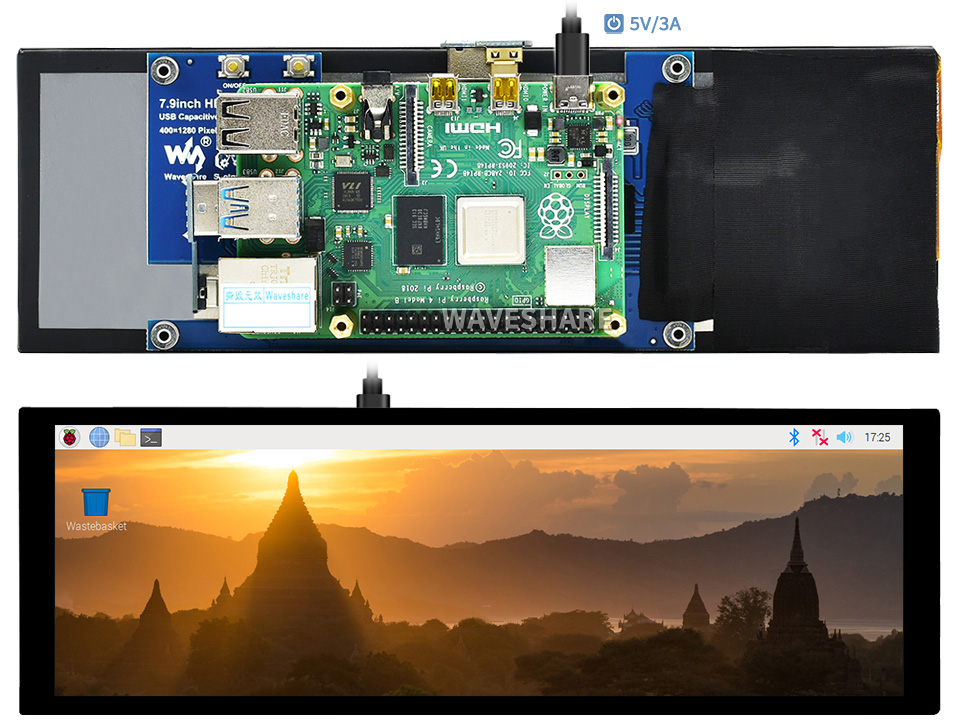
Add a 7.9 inch Waveshare display
Waveshare 7.9inch Capacitive Touch LCD Display, 400×1280, HDMI, IPS, Toughened Glass Cover with piCorePlayer.
Note If upgrading from pCP version 9.2 or lower, or if installing fresh on pCP 10 or higher, be sure to read the important note below, otherwise jivelite will fail to write out its settings.

Steps
Step 1 - Prepare SD card
- Put a fresh pCP image on to the SD card—see Burn piCorePlayer onto a SD card.
- While the SD card is still in the laptop/pc:
- Enter wifi credentials in wpa_supplicant.conf.sample and “save as” wpa_supplicant.conf.
- Add the following lines to config.txt, in the Custom Configuration area at the end of the file (between the Begin-Custom and End-Custom lines).
#---Begin-Custom-(Do not alter Begin or End Tags)-----
gpu_mem=128
disable_splash=1
avoid_warnings=2
hdmi_group=2
hdmi_mode=87
hdmi_timings=400 0 100 10 140 1280 10 20 20 2 0 0 0 60 0 43000000 3
display_rotate=3 #270 degrees
#---End-Custom------------------------
Info
You find these two files in your Windows Explorer in root-section of the pcp_boot drive.
The Software and Information is provided "as is" without warranty of any kind, either express or implied, including without limitation any implied warranties of condition, uninterrupted use, merchantability, fitness for a particular purpose, or non-infringement.
Raspberry Pi is a trademark of the Raspberry Pi Foundation.